Recently I posted on my facebook page how I was going to try a layered paint look. I got the idea from some pictures I had seen online and found a lady who blogged about it. It was sweet pickins blog. Awesome blog by the way!!! So I had this old piece that I paid a $1 for and thought it would be the perfect piece to practice on. It had some cracks in it so the paint and spackle for this layer technique would fill those gaps.
This is what I did. She said to use wall spackle. I didn't have any that was fresh but I did have wall joint compound. I thought it would work just as well and it did. I mixed some paint and the wall compound together in a solo cup. (I always paint from a solo cup! Maybe I should be drinking too from a solo cup when I paint;)) I slapped the mixture on with a puddy knife. I let it dry over night. I sanded it down the next day and then made a new batch of mixture using a different color. I let it dry over night. I sanded it down the next day. Then I took white paint and slapped some on. I didn't care about being neat. Then I took the sander and sanded the heck out of it. The look I wanted was of a piece that has been painted many times and heavily worn over the years. The look I got was a hideous blue, green, white and wood color piece!!! Project fail!!!!!!
Now, will I try this again. Absolutely! But not on this style piece. You need to do this on a dresser like the women from sweet pickins does and not a side table like I did. I say this because at least with a dresser you can leave the drawers in their natural wood state and just do the top and side with this layered paint look. On the side table it was just too busy and didn't look authentic. I will say that joint compound is awesome. It worked very well, sanded great and covered those cracks in the wood. So even though this was a fail, I never learn anything unless I try it. I lost very little money seeing the piece cost me $1 and some cost on supplies. I actually will use this piece as my practice furniture for other techniques I want to try. Here are some pictures of this process.


Another technique that I tried was creating a "chippy" paint look. First I spray painted the piece. I know, no chalk paint! Then I put Vaseline down on the spots where I didn't want the next coat of paint to adhere to. I painted on a layer using homemade chalk paint- 2 tablespoons of calcium carbonate, 1 tablespoon of warm water and 6 to 8 oz of paint. Once it dried, I lightly sanded using 120 grit sand paper and the chalk paint came right off leaving a beautiful black color underneath. So cool!!! A week later I tried the same technique on a veneer top coffee table that I got for free. That did not turn out!! It looked like a cow!!! I even tried to add another paint color on top of that to see what would happen and it was awful! You can only do this technique on real wood! The coffee table is now used for setting all my paint supplies on! Here are some pictures of before and after!


This is the coffee table. I sprayed it black.


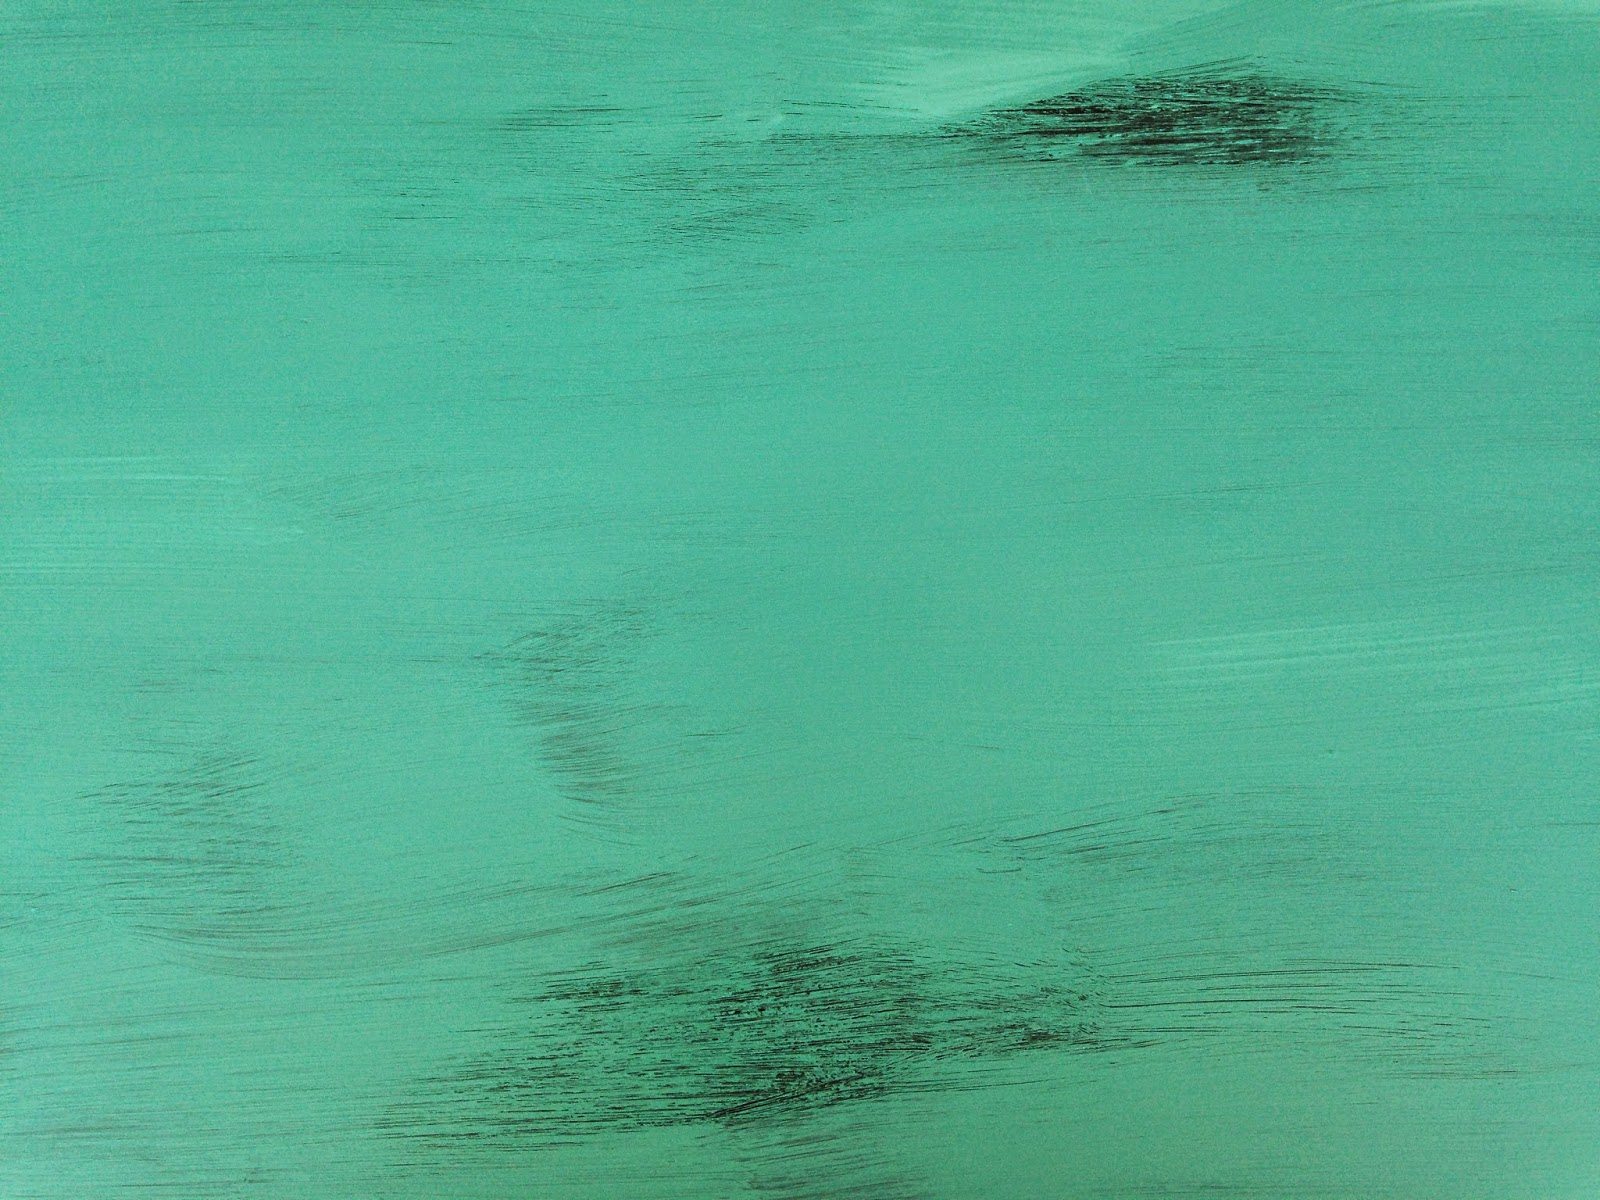
Then I added red to it and tried sanding. Fail!!! The black paint came up!


Some new techniques that I will be trying soon is layering using a 50/50 of paint and water and then wiping the second layer off to make "streaks" if you will. I heard it takes practice but that is why I have practice pieces!!! It is similar to what I do now with dark wax, but this is with paint. It gives the furniture another dimension. I also just purchased some gilders paste. It goes on with your finger and it highlights details in furniture. It comes in all different colors- gold, silver, patina, etc. It looks stunning!! So stay tuned for my trials and tribulations of it!!!!
Happy painting everyone:)
No comments:
Post a Comment